Installation#
Try online#
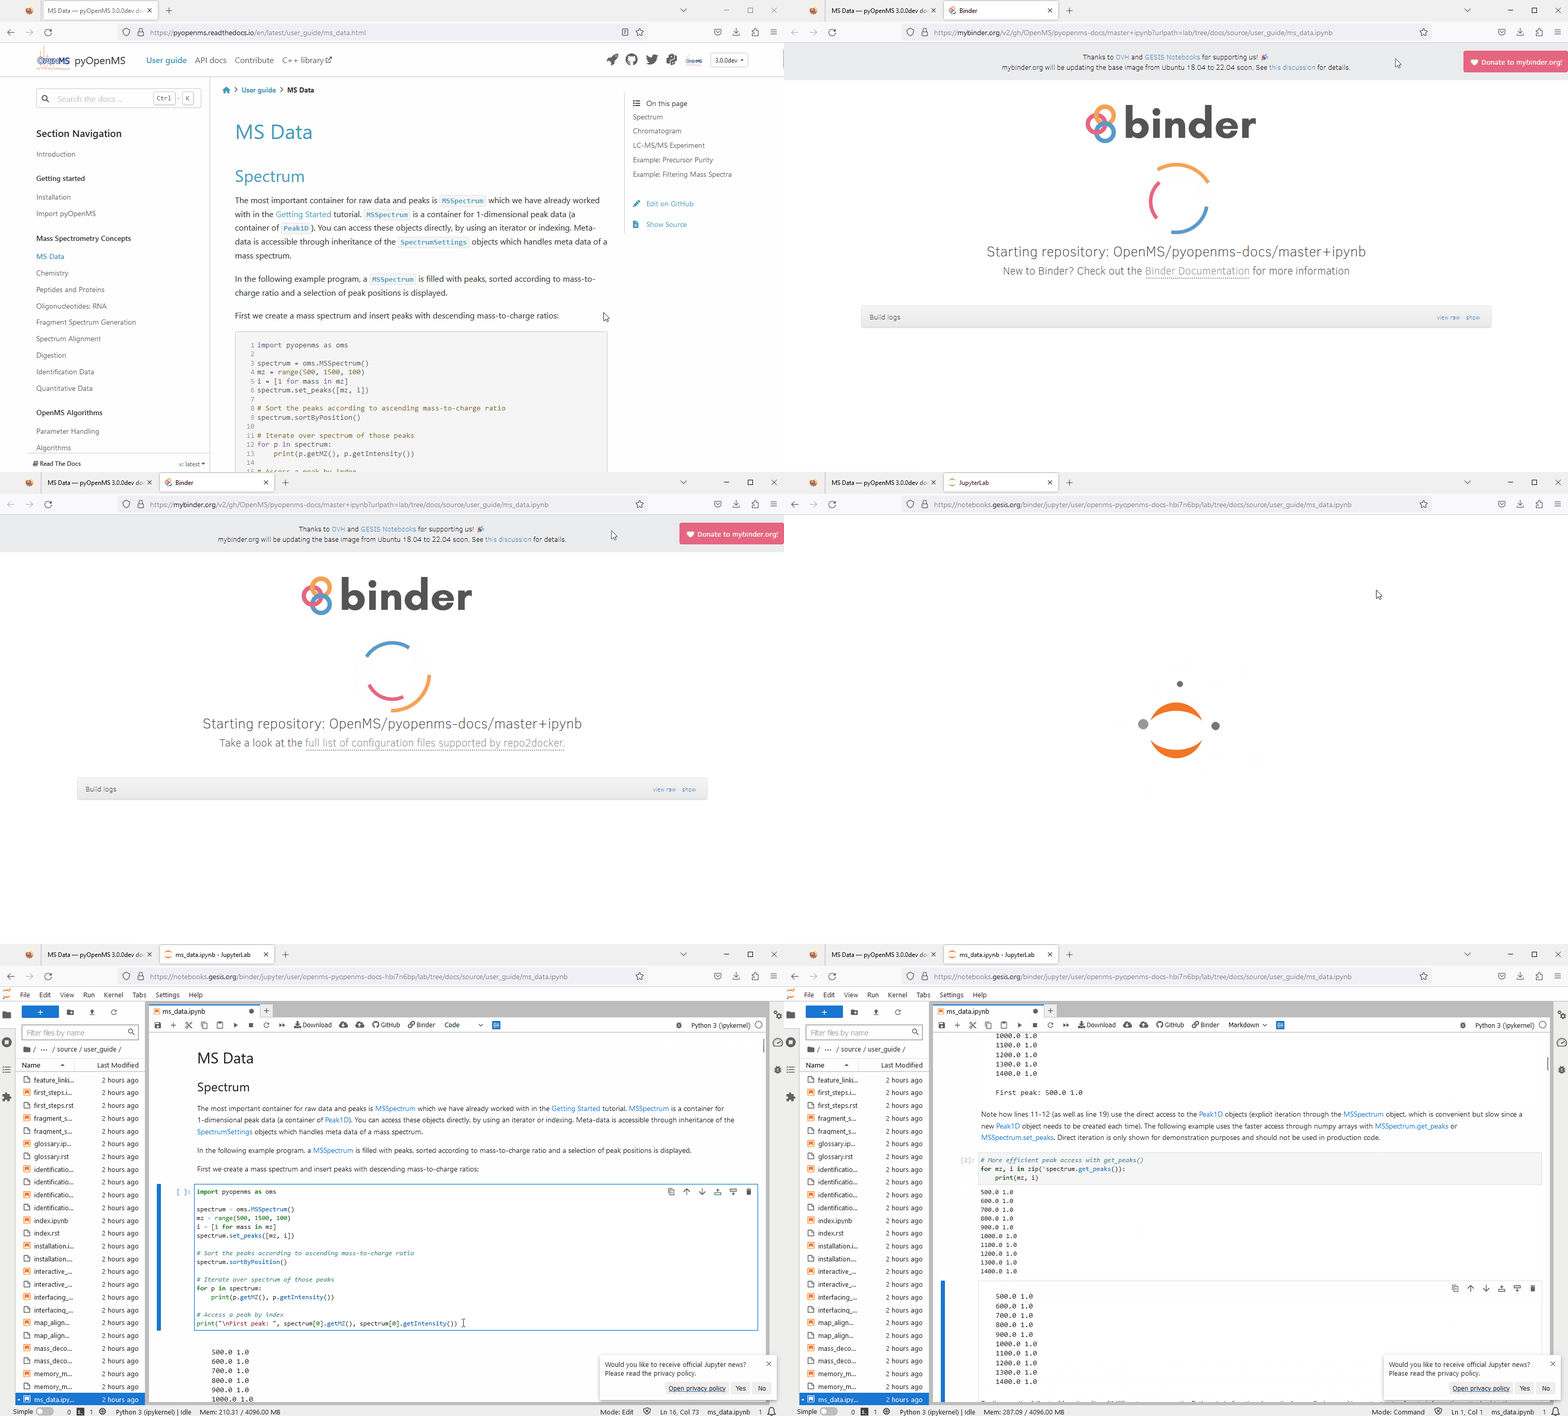
You can try out pyOpenMS in your browser. Just navigate to a topic you are interested in by clicking in the menu bar. Then click on the “Launch on Binder” logo.

Note that the first start of binder might take a bit. While binder is perfect for trying pyOpenMS it only offers a limited amount of memory. You should install the pyOpenMS binaries on your PC for serious data processing.
We recommend to use pyOpenMS in PyCharm as it works well with source code documentation.
Command Line#
To install pyOpenMS from the command line using the binary wheels, you can type
pip install numpy
pip install pyopenms
We have binary packages for OSX, Linux and Windows (64 bit only) available from PyPI. Make sure to download the 64bit Python release for Windows. Currently we only support Python 3.9, 3.10 and 3.11.
You can install Python first from here,
again make sure to download the 64bit release. You can then open a shell and
type the two commands above (on Windows you may potentially have to use
C:\Python37\Scripts\pip.exe in case pip is not in your system path).
Nightly/ CI wheels#
If you want the newest features you can also install nightly builds of pyOpenMS with the following shell command:
pip install --index-url https://pypi.cs.uni-tuebingen.de/simple/ pyopenms
Source (advanced users)#
To install pyOpenMS from source, you will first have to compile OpenMS successfully on your platform of choice and then follow the building from source instructions. Note that this may be non-trivial and is not recommended for most users.
Wrap Classes (advanced users)#
In order to wrap new classes in pyOpenMS, read the following guide.